Creating a New Coversheet

The coversheet object is the main container for fields and settings.
To create a new coversheet, click New on the toolbar or select New from the File menu.
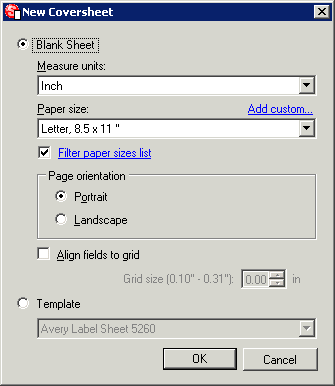
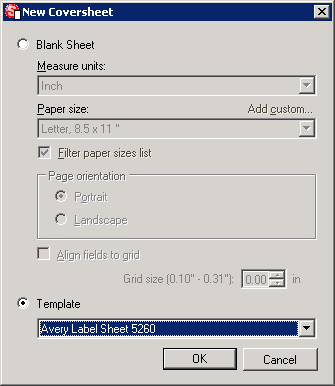
On the New Coversheet dialog you may choose whether to create your coversheet from a blank sheet, or from a template.
If you create the coversheet from a template, the size, measurements, etc. will be pre-filled from the template.
If you create a new coversheet from a blank sheet, you will need to know what size paper you intend to print the coversheets. You are also able to configure the measurement units setting and the grid properties for the new coversheet.
- The measurement units control how the rulers are displayed, as well as the (X, Y) coordinates that determine the placement and size of elements placed on the coversheet.
- The paper sizes can be filtered based on different standards and locations. If you can’t find a size that you need, click the Add custom… link in order to add a custom size to the list.
- Select Align fields to grid to use the grid to help align fields. Uncheck if you need fine control over element positions. This option can be changed in the coversheet properties.
- Once you have everything setup as desired, click OK to have the program generate your new, blank, coversheet.
Avery Label Templates[edit | edit source]

SimpleCoversheet allows for the easy creation of sheets of barcodes on Avery Labels via a template system. A template is basically a saved coversheet configuration with empty values that are configured by the user directly after creating a new coversheet. This saves you time in that all you’re required to do is configure the database that the values will be pulled from. To begin creating a sheet of Avery Labels, choose to create a new coversheet from the file menu or the toolbar.
Template Configuration[edit | edit source]
The template configuration is fairly straight forward if you have previously created any coversheets. When creating a new coversheet from a template you will be presented with the configuration wizards for the elements in the template. Once you have finished configuring the template elements the program will switch to User Mode and allow you to print your configured coversheets.
Each sheet of barcodes created with the Avery Label templates gets its values from a Data Source. So in order to create a sheet of barcoded sticky labels you must configure the elements in the template with a Data Source containing the values to be used on the barcodes.
The first element to configure via the wizard in an Avery Label template will be the Data Source Connection. This determines the location of the data, whether it be from a database server such as an SQL Server, a file such as an MS Access database, an Excel spreadsheet, or any other ODBC compatible connection.

After configuring the Data Source Connection, you will need to configure the Data Source via the configuration wizard. When configuring a Data Source you will need to select a table in the database, and then you will need to select the columns of data that you wish to make available as values for the barcodes.
Lastly, in the final part of the configuration wizard, you will configure the barcodes by selecting the column of data you wish to use as values.
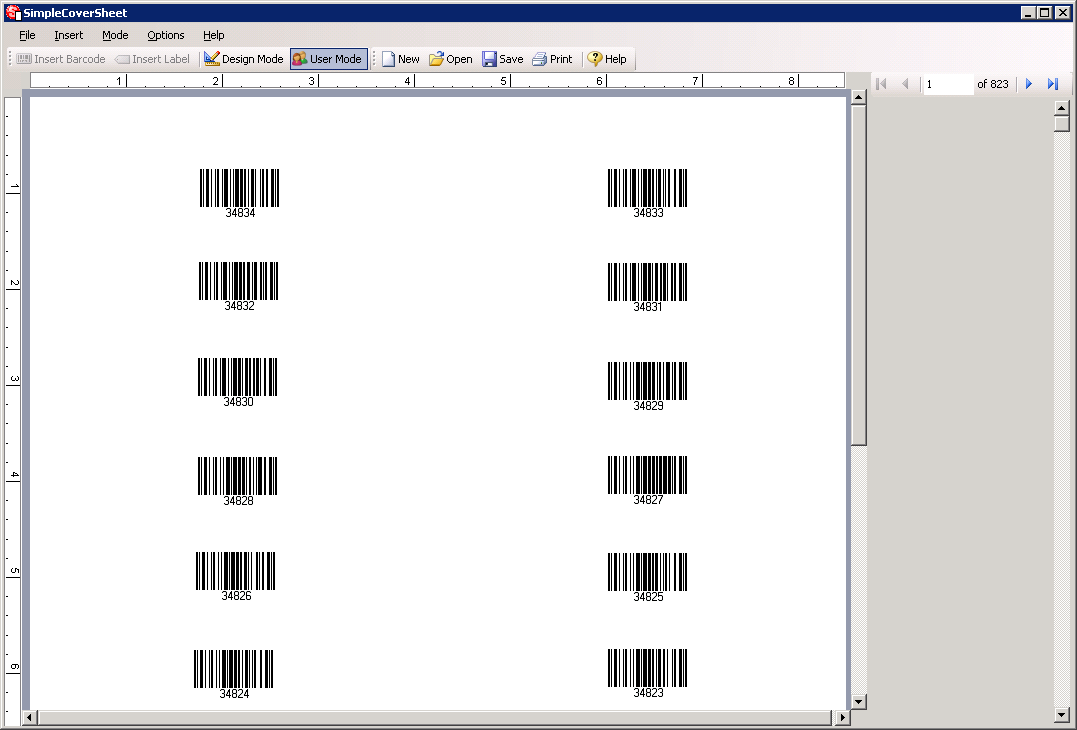
If everything has been properly configured, the program will switch to user mode and will display a sheet of barcoded sticky labels encoded with the values from your database. At this point you are now ready to print your newly created coversheet.
Be sure to save your new coversheet configuration to a file so it can be used again!